
Using Laravel with Svelte


Laravel, an extensive PHP web application framework with many features already baked in from the beginning, is steadily increasing in popularity. Similarly, Svelte, yet another JS framework for the front end, is seeing more and more adoption.
Unfortunately, Laravel currently only provides default setups for other major frameworks: React and Vue. While this is unfortunate, the endless configuration options in the web space have given us the possibility to use Laravel with Svelte. The main contributor to this solution is InertiaJS, which not only provides React and Vue support to Laravel, but also supports Svelte.
After wanting to start out in the world of Laravel using my favorite JS framework Svelte, I was stumped to find out that other than a few sparsely documented wiki pages and outdated blog posts, there was no information on how to set up a project from the start.
This lead to me creating this blog post, which sums up, what I believe is all the step-by-step information you need to start out with your Laravel project using Svelte. It not only covers the basics of installing it, but also goes over other specific cases like passing data from Laravel to Svelte and using layouts where my research lead to me piecing this information together from multiple different sources and posts.
You can find the accompanying repository on my GitHub: https://github.com/DoubleD-Software/laravel-svelte
Let's get started!
Creating a new project & adding Svelte
Installing Laravel
If not already done, you should install Laravel and all tools required to run it according to the official installation instructions.
/bin/bash -c "$(curl -fsSL https://php.new/install/mac/8.3)"MacOS installation script
# Run as administrator...
Set-ExecutionPolicy Bypass -Scope Process -Force; [System.Net.ServicePointManager]::SecurityProtocol = [System.Net.ServicePointManager]::SecurityProtocol -bor 3072; iex ((New-Object System.Net.WebClient).DownloadString('https://php.new/install/windows/8.3'))
Windows PowerShell installation script
/bin/bash -c "$(curl -fsSL https://php.new/install/linux/8.3)"Linux installation script
If you already have PHP and Composer installed, you can use this command to install the Laravel installer:
composer global require laravel/installerAfter you have installed Laravel, close your terminal and reopen it. You should now have access to the laravel command.
Creating a new project
We have to create a new Laravel project to work in. Move to your projects directory, or anywhere where you want your project to be created in. Then run this command, replacing laravel-svelte with the name of your project. Afterwards, move to the project directory.
laravel new laravel-svelte
cd laravel-svelte
You can just select the default option in all prompts. This means: no starter kit, Pest as the testing framework, SQLite as the database and "Yes, I want to run the default database migrations".
Installing InertiaJS on the server side
Installing InertiaJS
To support the latest version of Svelte, we currently have to install a development version of InertiaJS 2. Once this version has released, you can use that instead of the development version.
composer require inertiajs/inertia-laravelInstalling InertiaJS 2
Populating the app.blade.php
Now you can delete the welcome.blade.php in resources/views/ and create a new file in that same directory called app.blade.php, which you can populate with the following code. This will tell InertiaJS where it can insert its content.
<!DOCTYPE html>
<html>
<head>
    <meta charset="utf-8" />
    <meta name="viewport" content="width=device-width, initial-scale=1.0, maximum-scale=1.0" />
    @vite('resources/js/app.js')
    @inertiaHead
</head>
<body>
@inertia
</body>
</html>
resources/views/app.blade.php
Installing the required middle ware
For InertiaJS to work properly on the server side, we have to add its middle ware. This is simply done using this command:
php artisan inertia:middlewareAdditionally, you have to add the middle ware to the bootstrap/app.php file. If your project is still fresh, you can just copy and paste the following code:
<?php

use App\Http\Middleware\HandleInertiaRequests;
use Illuminate\Foundation\Application;
use Illuminate\Foundation\Configuration\Middleware;

return Application::configure(basePath: dirname(__DIR__))
    ->withRouting(
        web: __DIR__.'/../routes/web.php',
        commands: __DIR__.'/../routes/console.php',
        health: '/up',
    )->withMiddleware(function (Middleware $middleware) {
        $middleware->web(append: [
            HandleInertiaRequests::class,
        ]);
    })->withExceptions()->create();
bootstrap/app.php (note the InertiaJS middle ware)
With all this done, we can now move on to the client side.
Installing Svelte and InertiaJS on the client side
Installing all required packages
For this to work, we need to install the following packages: Svelte, the Vite plugin for Svelte, InertiaJS's Svelte adapter and Vite 6 or higher. This should resolve without any dependency conflicts.
npm install svelte
npm install @sveltejs/vite-plugin-svelte
npm install @inertiajs/svelte
npm install [email protected]
Installing the required packages
Populating the app.js
You can overwrite the current content of the resources/js/app.js file with the following content. It defines where InertiaJS will look for files to interpret.
import { createInertiaApp } from '@inertiajs/svelte'
import { mount } from 'svelte'
import '../css/app.css'

createInertiaApp({
  resolve: name => {
    const pages = import.meta.glob('./Pages/**/*.svelte', { eager: true })
    return pages[`./Pages/${name}.svelte`]
  },
  setup({ el, App, props }) {
    mount(App, { target: el, props })
  },
})
resources/js/app.js
Furthermore, you can delete the resources/js/bootstrap.js file, this will have no repercussions.
Configuring Vite and TailwindCSS
Copy and paste the following into the vite.config.js file in the root of the project directory.
import { defineConfig } from 'vite';
import laravel from 'laravel-vite-plugin';
import { svelte } from "@sveltejs/vite-plugin-svelte";

export default defineConfig({
    plugins: [
        laravel({
            input: ['resources/css/app.css', 'resources/js/app.js'],
            refresh: true,
        }),
        svelte({})
    ],
});
vite.config.js
Afterwards, overwrite the tailwindcss.config.js with the following content:
/** @type {import('tailwindcss').Config} */
export default {
    content: [
        './vendor/laravel/framework/src/Illuminate/Pagination/resources/views/*.blade.php',
        './storage/framework/views/*.php',
        './resources/**/*.blade.php',
        './resources/**/*.js',
        './resources/**/*.svelte',
    ],
    plugins: [],
};
tailwindcss.config.js
And with that, the installation part of this guide is done. Let's move on to the usage.
Using Svelte in Laravel
Basic page rendering
Creating a new Svelte file
For InertiaJS to be able to render your Svelte files, you first have to create a Pages (yes, capital P) directory in the resources/js/ folder. In there, you can create another folder called Home, where you then create the first Svelte file called Index.svelte. Usually, developers use the folders like Home to differentiate between different items in a REST API. In this case, this will just return a simple website with the following code:
<div class="text-center font-bold text-4xl">
    <h1>Laravel + Svelte</h1>
</div>
resources/js/Pages/Home/Index.svelte
Note how we can use TailwindCSS right out of the box!
Rendering the new Svelte file
Now you can render this page on the / route by replacing it with the following code in the routes/web.php:
<?php

use Illuminate\Support\Facades\Route;
use Inertia\Inertia;

Route::get('/', function () {
    return Inertia::render('Home/Index');
});
routes/web.php
See how you only have to define the directory from the Pages folder and up. You also don't need to use the .svelte extension.
Running the server
For good measure, you can run both Composer and NPM install commands to be sure that all dependencies are up to date.
npm install
composer install
The following command will then run npm run dev and php artisan serve simultaneously. This will start the development server and is usually on http://localhost:8000, but check your console for your port.
composer run devThis command will run the development server
Going to this page in your browser should yield the following result (500% zoomed):
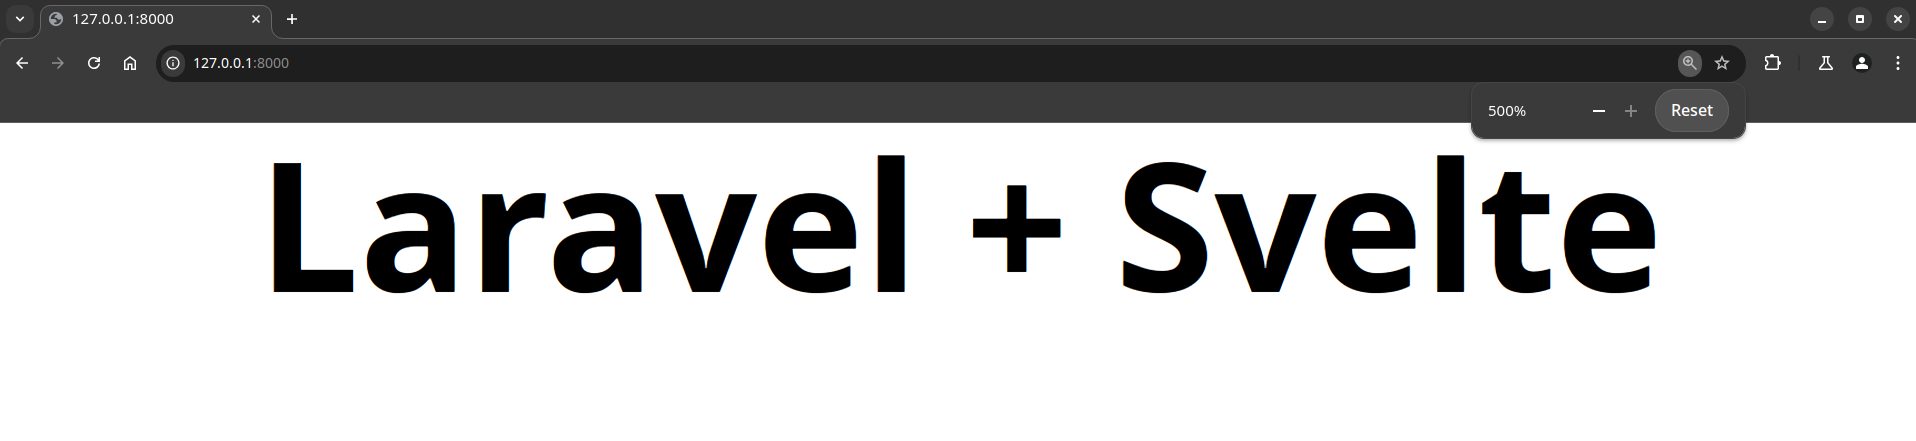
Congratulations! You have successfully visited your first Laravel + Svelte site.
Passing data
Passing data to the front end in Laravel is very straight forward, but it isn't very clear what you have to do in the Svelte code base to use that data.
Laravel side
As previously mentioned, this is fairly simple. Simply modify the route routes/web.php as shows below, which will return two properties to the Svelte site.
Route::get('/', function () {
    return Inertia::render('Home/Index', [
        'name' => 'John Doe',
        'age' => 30,
    ]);
});
routes/web.php
Svelte side
To receive the data, you simply have to use the $props() function in Svelte as the following example shows:
<script>
    let { name, age } = $props();
</script>

<div class="text-center font-bold text-4xl">
    <h1>Laravel + Svelte</h1>
    <p class="text-2xl">Hello {name} ({age})</p>
</div>
resources/js/Pages/Home/Index.svelte
With that defined in the script tag, you can use the data wherever you want in your Svelte file in the traditional fashion.
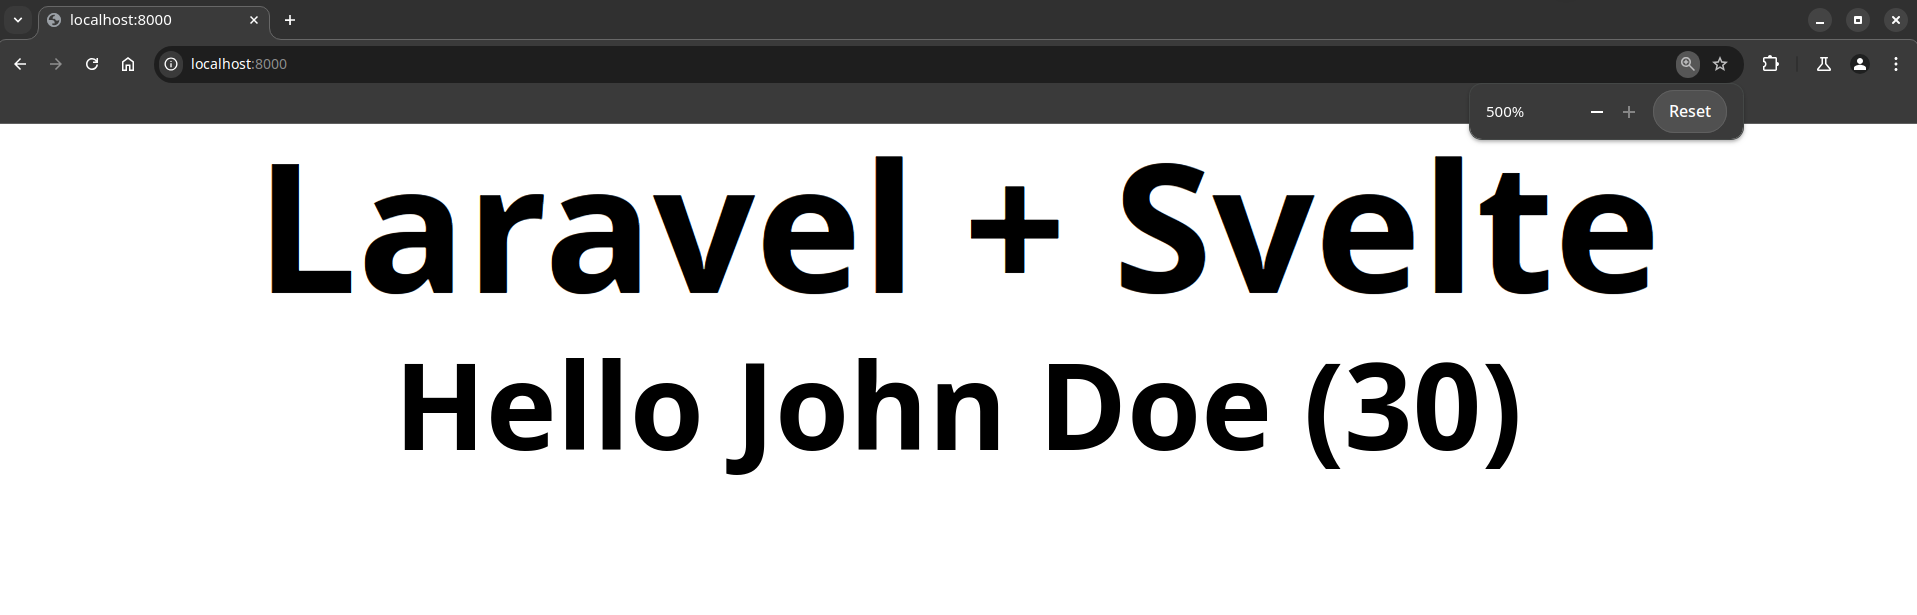
The website should now look like this (500% zoomed). Simple, isn't it?
Using layouts
Using layouts in Laravel with Svelte sadly isn't as intuitive as using them in SvelteKit. Nevertheless, we can still use a layout-like system.
Creating a new layout
To accommodate our new layout file, we have to create a new directory. It can named in any way, but for the sake of clarity you should call it Layouts. Create it alongside the Home directory in resources/js/Pages/. In that new layout directory, create a new Svelte file called App.svelte, although it can be named whatever you desire.
Populate this file with your layout. Here is an example that adds a green background:
<script>
    let { children } = $props();
</script>

<main class="bg-lime-300 w-full h-full">
    {@render children?.()}
</main>
resources/js/Pages/Layouts/App.svelte
Using the new layout
To use this new layout in your Index.svelte file, you have to first import the layout in a script tag and then wrap your content within the layout as the following example shows:
<script>
import Layout from "../Layouts/App.svelte"
let { name, age } = $props();
</script>
<Layout>
<div class="text-center font-bold text-4xl">
<h1>Laravel + Svelte</h1>
<p class="text-2xl">Hello {name} ({age})</p>
</div>
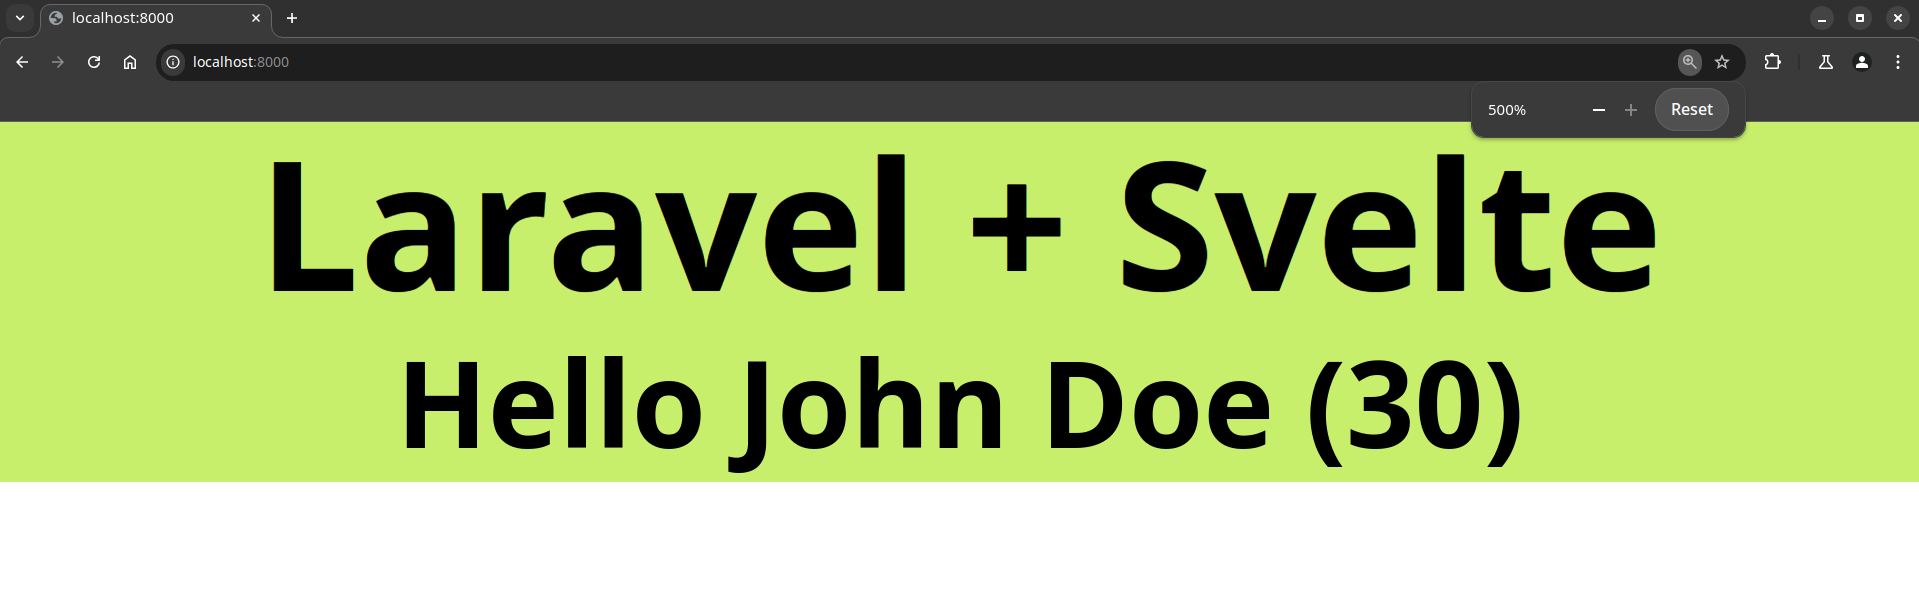
</Layout>Make sure your import is correct. The main page should look like this after the change (500% zoomed):
Final words
I hope this guide helped you in your Laravel + Svelte journey and that you now have a simple yet working website built entirely in Svelte and served by Laravel.
If you encounter any errors, check all the instructions, paths and code again. You might have missed something somewhere. If you think there is an error or something is missing, you can contact me on Discord: https://discord.gg/2kGR3AdfZH
Don't forget to check out the GitHub repository at https://github.com/DoubleD-Software/laravel-svelte and give it star!
Make sure to sign up (free) for the DoubleD newsletter to receive more of these useful guides and interesting experiences below! Thank you!