
Spice up your UI with Shadcn-Svelte and Laravel!


The key to fast and efficient development while upholding a great user interface and experience is not only solved by a proper JavaScript framework like Svelte, but also ideally requires a UI element library which contains many different pre-made and beautiful components. Libraries like Bootstrap were very popular and made websites, which used them, easily identifiable.
With Shadcn and similar a new era of UI libraries began: they don't just provide you with a massive library with every component you can dream of in it, but they also give you the entire source code for each component which makes it possible to customize them.
The last blog post guided you through the installation process of Laravel and Svelte. The code of that guide can be found on GitHub on the master branch: https://github.com/DoubleD-Software/laravel-svelte
This guide will explain the installation process of Shadcn. While it is largely based on the Vite guide on Shadcn-Svelte's own website, adding it to Laravel contains a few quirks you need to consider.
As always, the code of this guide will be made available on the shadcn branch of the GitHub repository.
Let's get into it!
Configuration
JS and TS configs
First we need to add path aliases to the respective configuration files to simplify the import process of our components.
If you are using JavaScript as the example does, please create a jsconfig.json in the root of the directory.
{
    "compilerOptions": {
        "paths": {
            "$lib/*": ["./resources/js/lib/*"],
            "$lib": ["./resources/js/lib"]
        }
    }
}
jsconfig.json
Alternatively, if you are using TypeScript, locate your tsconfig.json and tsconfig.app.json and add the required paths.
{
 "files": [],
 "references": [
  { "path": "./tsconfig.app.json" },
  { "path": "./tsconfig.node.json" }
 ],
 "compilerOptions": {
  "baseUrl": ".",
  "paths": {
   "$lib": ["./resources/js/lib"],
   "$lib/*": ["./resources/js/lib/*"]
  }
 }
}
tsconfig.json
And the tsconfig.app.json:
{
 "compilerOptions": {
  // ...
  "baseUrl": ".",
  "paths": {
   "$lib": ["./resources/js/lib"],
   "$lib/*": ["./resources/js/lib/*"]
  }
 }
}
tsconfig.app.json
With the language configuration files taken care of, we need to add the path to the Vite config as well.
Vite config
Find the vite.config.js and if you are following the other guide, copy and paste the entire following codeblock overwriting the entire file.
import { defineConfig } from 'vite';
import laravel from 'laravel-vite-plugin';
import { svelte } from "@sveltejs/vite-plugin-svelte";
import path from "path";

export default defineConfig({
    plugins: [
        laravel({
            input: ['resources/css/app.css', 'resources/js/app.js'],
            refresh: true,
        }),
        svelte({}),
    ],
    resolve: {
        alias: {
            $lib: path.resolve("./resources/js/lib"),
        },
    },
});
vite.config.js
If you are adding this to your own Vite config, do not forget to add the path import!Installation
Now we are ready to install Shadcn! Or at least initialize the required files, since Shadcn doesn't really "install" itself in your code base. In order to do that run the following command. When using pnpm you are able to use pnpm dlx instead of npx.
npx shadcn-svelte@next initCLI
In the selection prompt chose everything according to your project settings. If you are using JS, select JS, if not, select TS. Simple as that.
If the Shadcn installer didn't recognize your app.css immediately, you can simply set it to the path resources/css/app.css.
Fixing TailwindCSS
To add its own styles, Shadcn overwrote your tailwind.config.js. The issue specifically lies in the overwritten content tag. It now doesn't contain the correct extensions anymore, which leads to TailwindCSS breaking entirely. So let's fix it!
Switch the content tag in your TCSS config back to the original value:
    content: [
        './vendor/laravel/framework/src/Illuminate/Pagination/resources/views/*.blade.php',
        './storage/framework/views/*.php',
        './resources/**/*.blade.php',
        './resources/**/*.js',
        './resources/**/*.svelte',
    ],
tailwind.config.js
With all that tedious configuration work done, we can finally start using Shadcn components with Svelte and Laravel!
Usage
Let's begin with the simplest component of them all: the button.
You can take a look at all different components on Shadcn-Svelte's website!
To add that component to your code base, you run the following command. You can again replace npx with pnpm dlx when using PNPM.
npx shadcn-svelte@next add buttonCLI
After going through the prompts you should have your component at the ready! Let's add it to our Index.svelte which we have created in the previous guide!
<script>
    import Layout from "../Layouts/App.svelte"
    import { Button } from "$lib/components/ui/button/index.js";
    let { name, age } = $props();
</script>

<Layout>
    <div class="text-center font-bold text-4xl">
        <h1>Laravel + Svelte</h1>
        <p class="text-2xl">Hello {name} ({age})</p>
        <Button>Click me</Button>
    </div>
</Layout>
Home/Index.svelte
Here we can see our custom path $lib! Your IDE should automatically import the right file when trying to use the Button component. Make sure you aren't importing it from bits-ui though!
With that out of the way and a simple component added to our main page, we can start the development server.
composer run devCLI
You can configure which commands composer runs in your composer.json if you want to run PNPM instead of NPM!
After the development server spun up, you can open up your website and take a look and your new button!
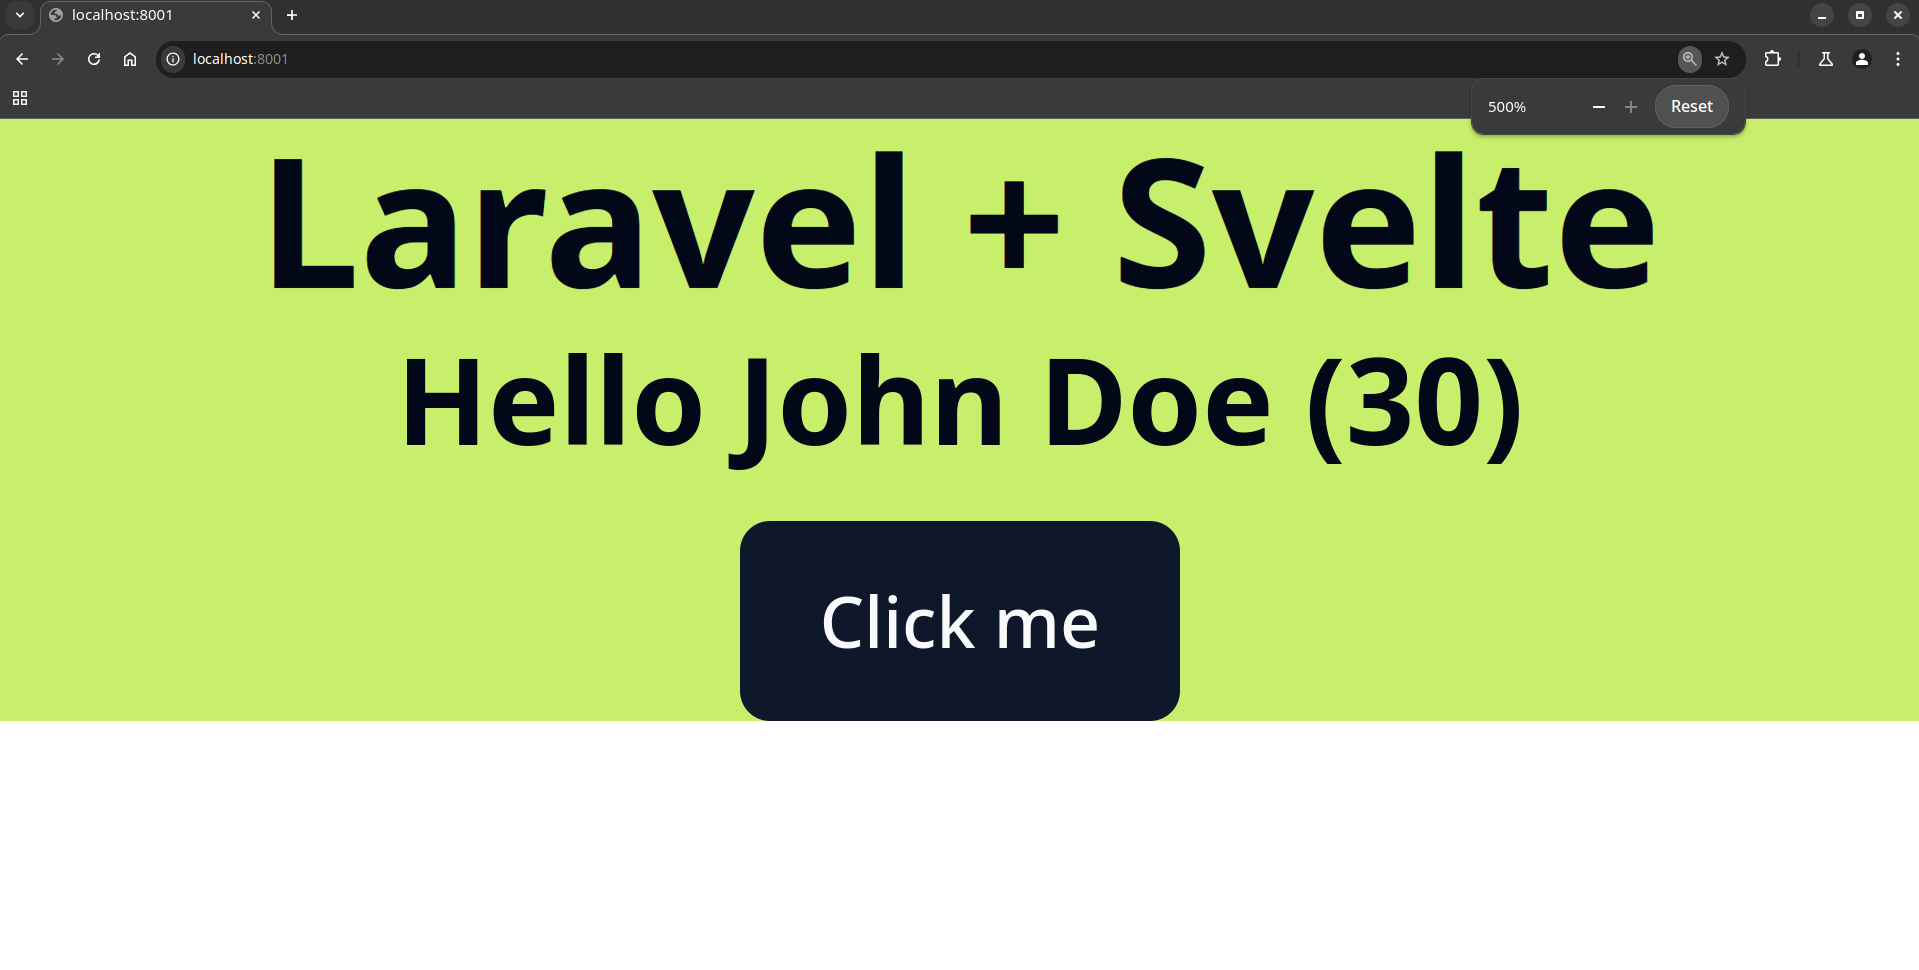
Currently, it is not the best looking, but it's proof that it works! Your imagination should do the rest! Have fun with Shadcn!
If you encounter any issues or have questions regarding this or any other guides and blog posts, consider joining our DoubleD Software Discord server: https://discord.gg/2kGR3AdfZH
In case you want to check out the code for this guide, take a look at the shadcn branch of the repository!
Thanks for reading this blog post! Consider subscribing (free) to our newsletter to always receive a notification when we publish a new useful guide! Thank you!